- Explore MCP Servers
- adk-mcp-brightdata
Adk Mcp Brightdata
What is Adk Mcp Brightdata
The project is an integration of Google’s Agent Development Kit (ADK) version 1.2.0+ with Bright Data’s Model Context Protocol (MCP) server, designed for intelligent web search and data extraction. It simplifies the process of building agents capable of gathering real-time information and interacting with web data effectively.
Use cases
This integration can be utilized for various applications such as web scraping, data collection for research, customer support automation, and creating intelligent search tools that can fetch current and relevant information. It is suitable for businesses and developers looking to leverage AI for enhanced user experiences in web interactions.
How to use
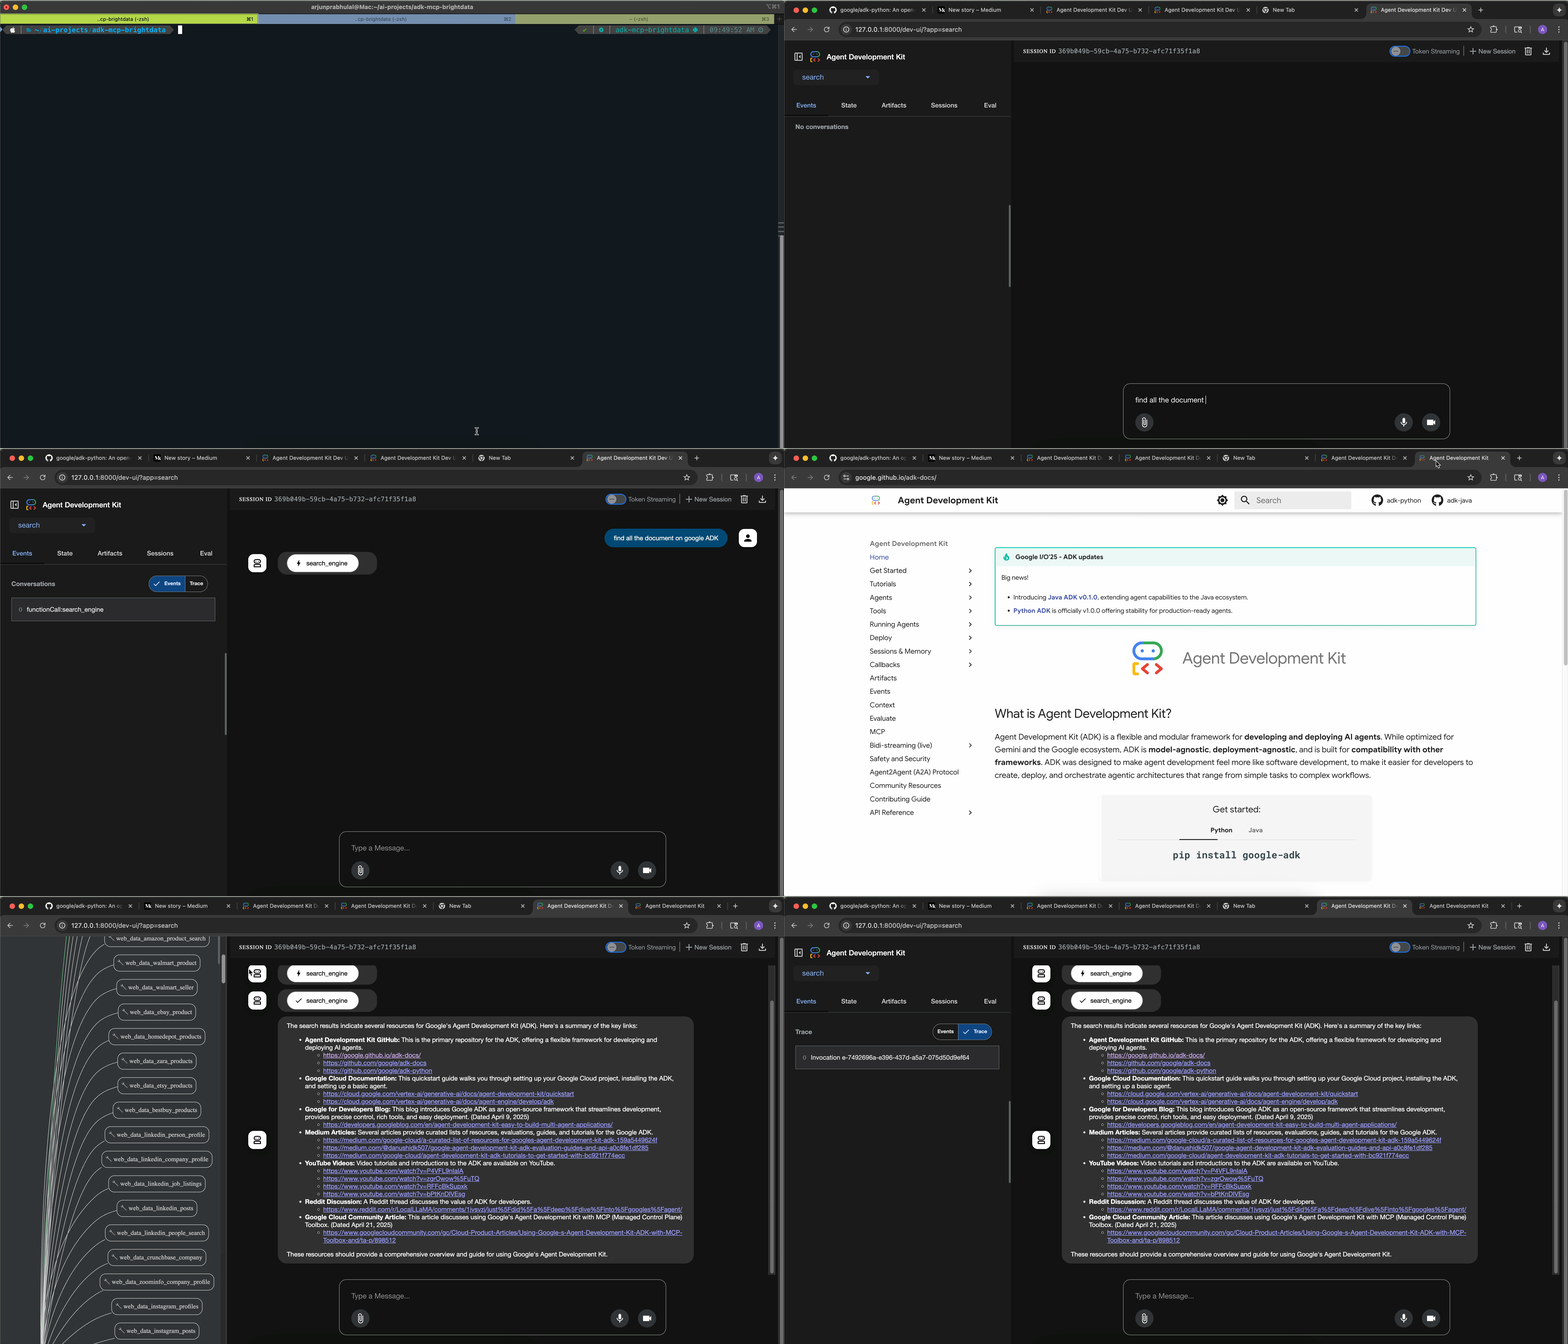
To use the project, clone the repository and set up a Python virtual environment. After installing the required dependencies, configure your environment variables in a .env file, including your Google API key and Bright Data API token. You can then access the agent through either a web interface by running adk web or via the command line with adk run search.
Key features
Key features include a modern ADK integration with simplified tool registration, real-time web search capabilities powered by Bright Data MCP, multiple interfaces (web UI, CLI, programmatic access), and better resource management. The architecture also enhances error handling and performance compared to previous versions.
Where to use
This integration can be employed in environments where real-time data access is critical, such as in analytics platforms, automated customer service solutions, content aggregation services, and anywhere else that requires seamless interaction with web data for decision-making or operational efficiency.
Overview
What is Adk Mcp Brightdata
The project is an integration of Google’s Agent Development Kit (ADK) version 1.2.0+ with Bright Data’s Model Context Protocol (MCP) server, designed for intelligent web search and data extraction. It simplifies the process of building agents capable of gathering real-time information and interacting with web data effectively.
Use cases
This integration can be utilized for various applications such as web scraping, data collection for research, customer support automation, and creating intelligent search tools that can fetch current and relevant information. It is suitable for businesses and developers looking to leverage AI for enhanced user experiences in web interactions.
How to use
To use the project, clone the repository and set up a Python virtual environment. After installing the required dependencies, configure your environment variables in a .env file, including your Google API key and Bright Data API token. You can then access the agent through either a web interface by running adk web or via the command line with adk run search.
Key features
Key features include a modern ADK integration with simplified tool registration, real-time web search capabilities powered by Bright Data MCP, multiple interfaces (web UI, CLI, programmatic access), and better resource management. The architecture also enhances error handling and performance compared to previous versions.
Where to use
This integration can be employed in environments where real-time data access is critical, such as in analytics platforms, automated customer service solutions, content aggregation services, and anywhere else that requires seamless interaction with web data for decision-making or operational efficiency.
Content
Google ADK + Bright Data MCP Integration

📖 Featured Article: Building ADK(v1.2.0+) agents using MCP tools by Arjun Prabhulal
A comprehensive implementation of Google’s Agent Development Kit (ADK) v1.2.0+ integrated with Bright Data’s Model Context Protocol (MCP) server for intelligent web search and data extraction capabilities.

🚀 Key Features
- Modern ADK Integration: Utilizes ADK v1.2.0+ with simplified MCP tool registration
- Real-time Web Search: Powered by Bright Data MCP for current, accurate information
- Multiple Interfaces: Web UI, CLI, and programmatic access
🏗️ Architecture
This project demonstrates the change from ADK v0.5.0 to v1.2.0+:
ADK v0.5.0 (Legacy)
# Complex async executor pattern (deprecated)
def create_mcp_tool_executor():
    async def mcp_tool_executor(**kwargs):
        tools, exit_stack = await MCPToolset.from_server(...)
        try:
            return await try_tools_sequentially(tools, kwargs, exit_stack)
        finally:
            await exit_stack.aclose()
    return mcp_tool_executor
ADK v1.2.0+ (Modern)
# Simplified direct tool registration
tools = MCPToolset(
    connection_params=StdioServerParameters(
        command='npx',
        args=["-y", "@brightdata/mcp"],
        env={"API_TOKEN": os.getenv("API_TOKEN")}
    )
)

root_agent = Agent(
    model="gemini-2.0-flash",
    tools=[tools]  # Direct tool registration
)
📋 Prerequisites
- Python 3.10+
- Node.js 16+ (for npx command)
- Google API Key - Get from Google AI Studio
- Bright Data Account - Sign up at Bright Data
🛠️ Installation
1. Clone the Repository
git clone https://github.com/arjunprabhulal/adk-mcp-brightdata.git
cd adk-mcp-brightdata
2. Set Up Virtual Environment
# Mac/Linux
python -m venv venv
source venv/bin/activate

# Windows
python -m venv venv
venv\Scripts\activate
3. Install Dependencies
# Install Python packages
pip install google-adk google-generativeai mcp python-dotenv rich

# Install Bright Data MCP Server
npm install -g @brightdata/mcp
4. Environment Configuration
Create a .env file in the project root:
# Google API Key from https://aistudio.google.com/app/apikey
GOOGLE_API_KEY="your_google_api_key_here"

# Bright Data credentials from https://brightdata.com/cp/zones
API_TOKEN="your_brightdata_api_token"
WEB_UNLOCKER_ZONE="your_web_unlocker_zone"  # Optional

# Optional: Customize agent configuration
GEMINI_MODEL="gemini-2.0-flash"              # Default model
AGENT_NAME="search_assistant"                # Agent identifier
AGENT_DESCRIPTION="Your custom description"  # Agent description

# Optional: Customize MCP server configuration
MCP_COMMAND="npx"                            # Command to run MCP server
MCP_PACKAGE="@brightdata/mcp"                # MCP package name
🎯 Usage
Option 1: Web Interface
adk web
Access the web UI at http://localhost:8000
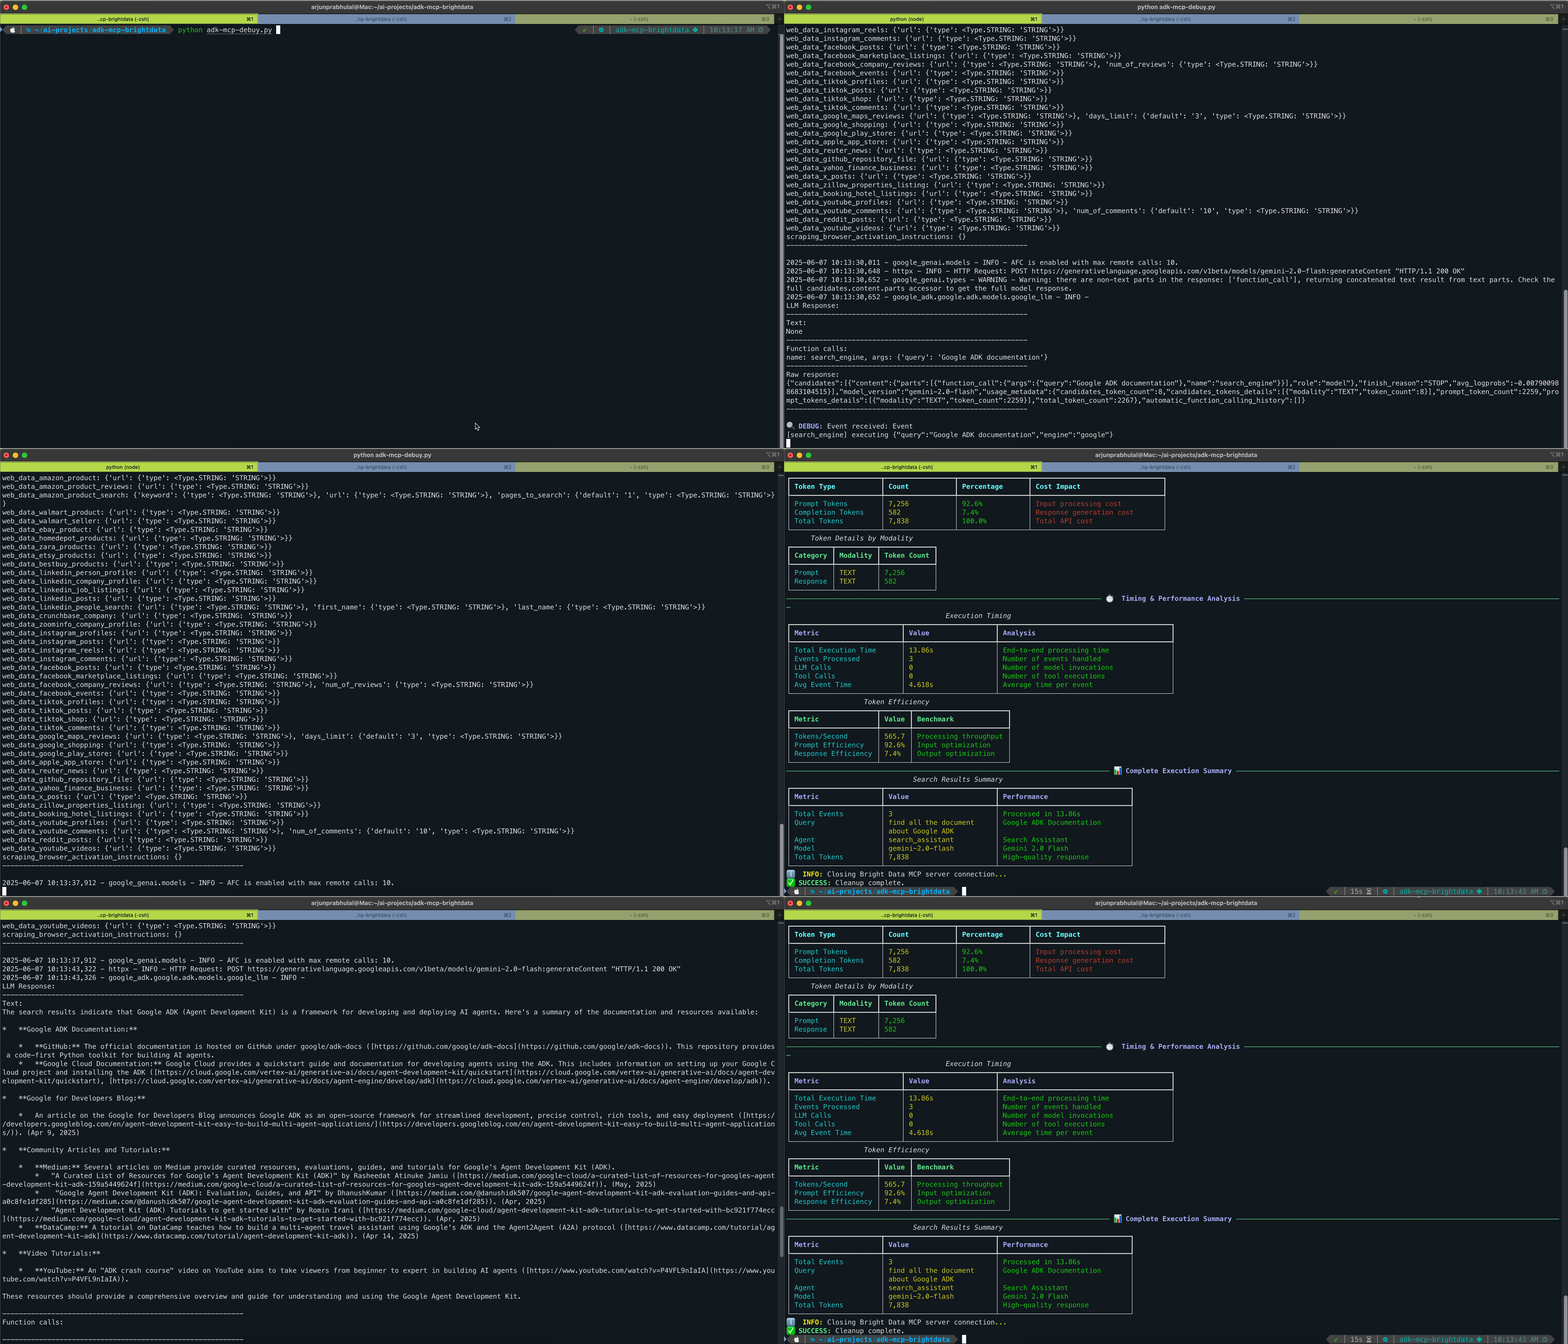
Option 2: Command Line
adk run search
This provides direct access to the ADK agent implementation.
📁 Project Structure
adk-mcp-brightdata/
├── search/
│   ├── __init__.py
│   ├── agent.py           # Core ADK agent implementation
│   └── prompt.py          # Agent instructions and prompts
├── .env                   # Environment variables
├── requirements.txt       # Python dependencies
└── README.md
🔧 Core Implementation
Agent Configuration
from google.adk.agents import Agent
from google.adk.tools.mcp_tool.mcp_toolset import MCPToolset, StdioServerParameters

tools = MCPToolset(
    connection_params=StdioServerParameters(
        command='npx',
        args=["-y", "@brightdata/mcp"],
        env={
            "API_TOKEN": os.getenv("API_TOKEN"),
            "WEB_UNLOCKER_ZONE": os.getenv("WEB_UNLOCKER_ZONE")
        }
    )
)

root_agent = Agent(
    model="gemini-2.0-flash",
    name="search_assistant",
    description="Google ADK Agent integrated with MCP for intelligent web search assistance.",
    instruction=PROMPT,
    tools=[tools],
)
🔧 Technical Features
ADK Integration Benefits
- Simplified Tool Registration: Direct MCPToolset integration
- Automatic Resource Management: No manual cleanup required
- Error Handling: Built-in timeout and connection management
- Async Support: Proper asynchronous execution patterns
⚠️ Known Issues
MCP Session Timeout (ADK v1.2.0+)
Issue: Default 5-second timeout in mcp_session_manager.py
Temporary Workaround: Update timeout in your virtual environment:
# File: .venv/lib/python3.12/site-packages/google/adk/tools/mcp_tool/mcp_session_manager.py
session = await self._exit_stack.enter_async_context(
    ClientSession(
        *transports[:2],
        read_timeout_seconds=timedelta(seconds=60),  # Changed from 5 to 60
    )
)
🚀 Key Improvements in ADK v1.2.0+
- Simplified Tool Registration: Direct MCPToolset integration
- Cleaner Code: No more complex async executors
- Better Error Handling: Improved timeout and connection management
- Enhanced Performance: Streamlined tool execution
- Developer Experience: More intuitive agent building
🤝 Contributing
- Fork the repository
- Create a feature branch (
git checkout -b feature/amazing-feature) - Commit your changes (
git commit -m 'Add amazing feature') - Push to the branch (
git push origin feature/amazing-feature) - Open a Pull Request
📚 Additional Resources
- Article: Building ADK(v1.2.0+) agents using MCP tools
- Google ADK Documentation: Agent Development Kit
- Bright Data MCP: MCP Server Documentation
- Model Context Protocol: MCP Specification
📄 License
This project is licensed under the MIT License - see the LICENSE file for details.
👤 Author
Arjun Prabhulal
- Medium: @arjun-prabhulal
- GitHub: @arjunprabhulal
