Coding Assistant
What is Coding Assistant
Coding Assistant is an AI-powered coding helper that reads your local code to provide context-aware assistance, explanations, and suggestions directly related to your project files.
Use cases
Use cases include debugging code, understanding complex code structures, generating code snippets, and improving coding efficiency through intelligent suggestions.
How to use
To use Coding Assistant, point it to your project folder and start asking questions. Ensure you have Python 3.11 or higher and the ‘tree’ command installed. Clone the repository, install dependencies, configure API keys, and run the application.
Key features
Key features include local code analysis, context-aware suggestions, customizable LLM provider, and easy setup with Python dependencies.
Where to use
Coding Assistant can be used in software development environments, educational settings for coding, and by individual developers looking for enhanced coding support.
Clients Supporting MCP
The following are the main client software that supports the Model Context Protocol. Click the link to visit the official website for more information.


Overview
What is Coding Assistant
Coding Assistant is an AI-powered coding helper that reads your local code to provide context-aware assistance, explanations, and suggestions directly related to your project files.
Use cases
Use cases include debugging code, understanding complex code structures, generating code snippets, and improving coding efficiency through intelligent suggestions.
How to use
To use Coding Assistant, point it to your project folder and start asking questions. Ensure you have Python 3.11 or higher and the ‘tree’ command installed. Clone the repository, install dependencies, configure API keys, and run the application.
Key features
Key features include local code analysis, context-aware suggestions, customizable LLM provider, and easy setup with Python dependencies.
Where to use
Coding Assistant can be used in software development environments, educational settings for coding, and by individual developers looking for enhanced coding support.
Clients Supporting MCP
The following are the main client software that supports the Model Context Protocol. Click the link to visit the official website for more information.
Content
Coding Assistant
Your Local AI Pair Programmer: Point this AI assistant to your project folder and start asking questions!
It reads your code locally to provide truly context-aware help, explanations, and suggestions directly related to your files. Code smarter, locally.
Prerequisites 📝
- Python: Version 3.11 or higher recommended.
treecommand: Theget_tree_folderstool relies on this.- Linux (Debian/Ubuntu):
sudo apt update && sudo apt install tree - macOS (using Homebrew):
brew install tree
- Linux (Debian/Ubuntu):
Installation ⚙️
-
Clone the repository:
git clone https://github.com/Bessouat40/coding-assistant cd coding-assistant -
Install Python dependencies:
pip install -r requirements.txt
Configuration 🔑
-
API Keys & Settings: Sensitive information like LLM API keys should be stored in a
.envfile in the project’s root directory. - Copy the example file or create a new file named.env:cp .env.example .env
-
Edit the
.envfile and add your keys:# .env MISTRAL_API_KEY=your_mistral_api_key_here # GOOGLE_API_KEY=your_google_api_key_here # Add other variables if needed, e.g., MAX_CONTEXT_TOKENS=7000
- LLM Provider: Change LLM provider if you want :
- Go to
api/utils.pyand modifyloadl_llmfunction. Uncomment the line with the provider you need.
By default, it’s set toGoogle:
def load_llm(logger):
    try:
        model = ChatOllama(model="llama3.1:8b")
        # model = ChatMistralAI(model="codestral-latest")
        # model = ChatGoogleGenerativeAI(model="gemini-2.0-flash-001")
        logger.info(f"ChatGoogleGenerativeAI model '{model.model}' initialized successfully.")
        return model
    except Exception as e:
        logger.error(f"Failed to initialize the LLM model: {e}")
        raise RuntimeError(f"Could not initialize LLM: {e}") from e
Running the Application ▶️
A convenience script launch_assistant.sh is provided to start all components.
-
Make the script executable:
chmod +x launch_assistant.sh -
Run the script:
./launch_assistant.sh
This script will:
- Load environment variables from
.env. - Start the MCP Tool Server (
agent_tools.py) in the background (logs tomcp_server.log). - Start the FastAPI Backend (
api.py) in the background (logs tofastapi_api.log). - Start the Streamlit UI (
streamlit_app.py) in the background (logs tostreamlit_ui.log). - Print the URLs and PIDs for each component.
You can view logs in the specified .log files for debugging. Press Ctrl+C in the terminal where you ran the script to stop all components gracefully.
Usage 🧑💻
- Access the UI: Open your web browser and navigate to the Streamlit URL (usually
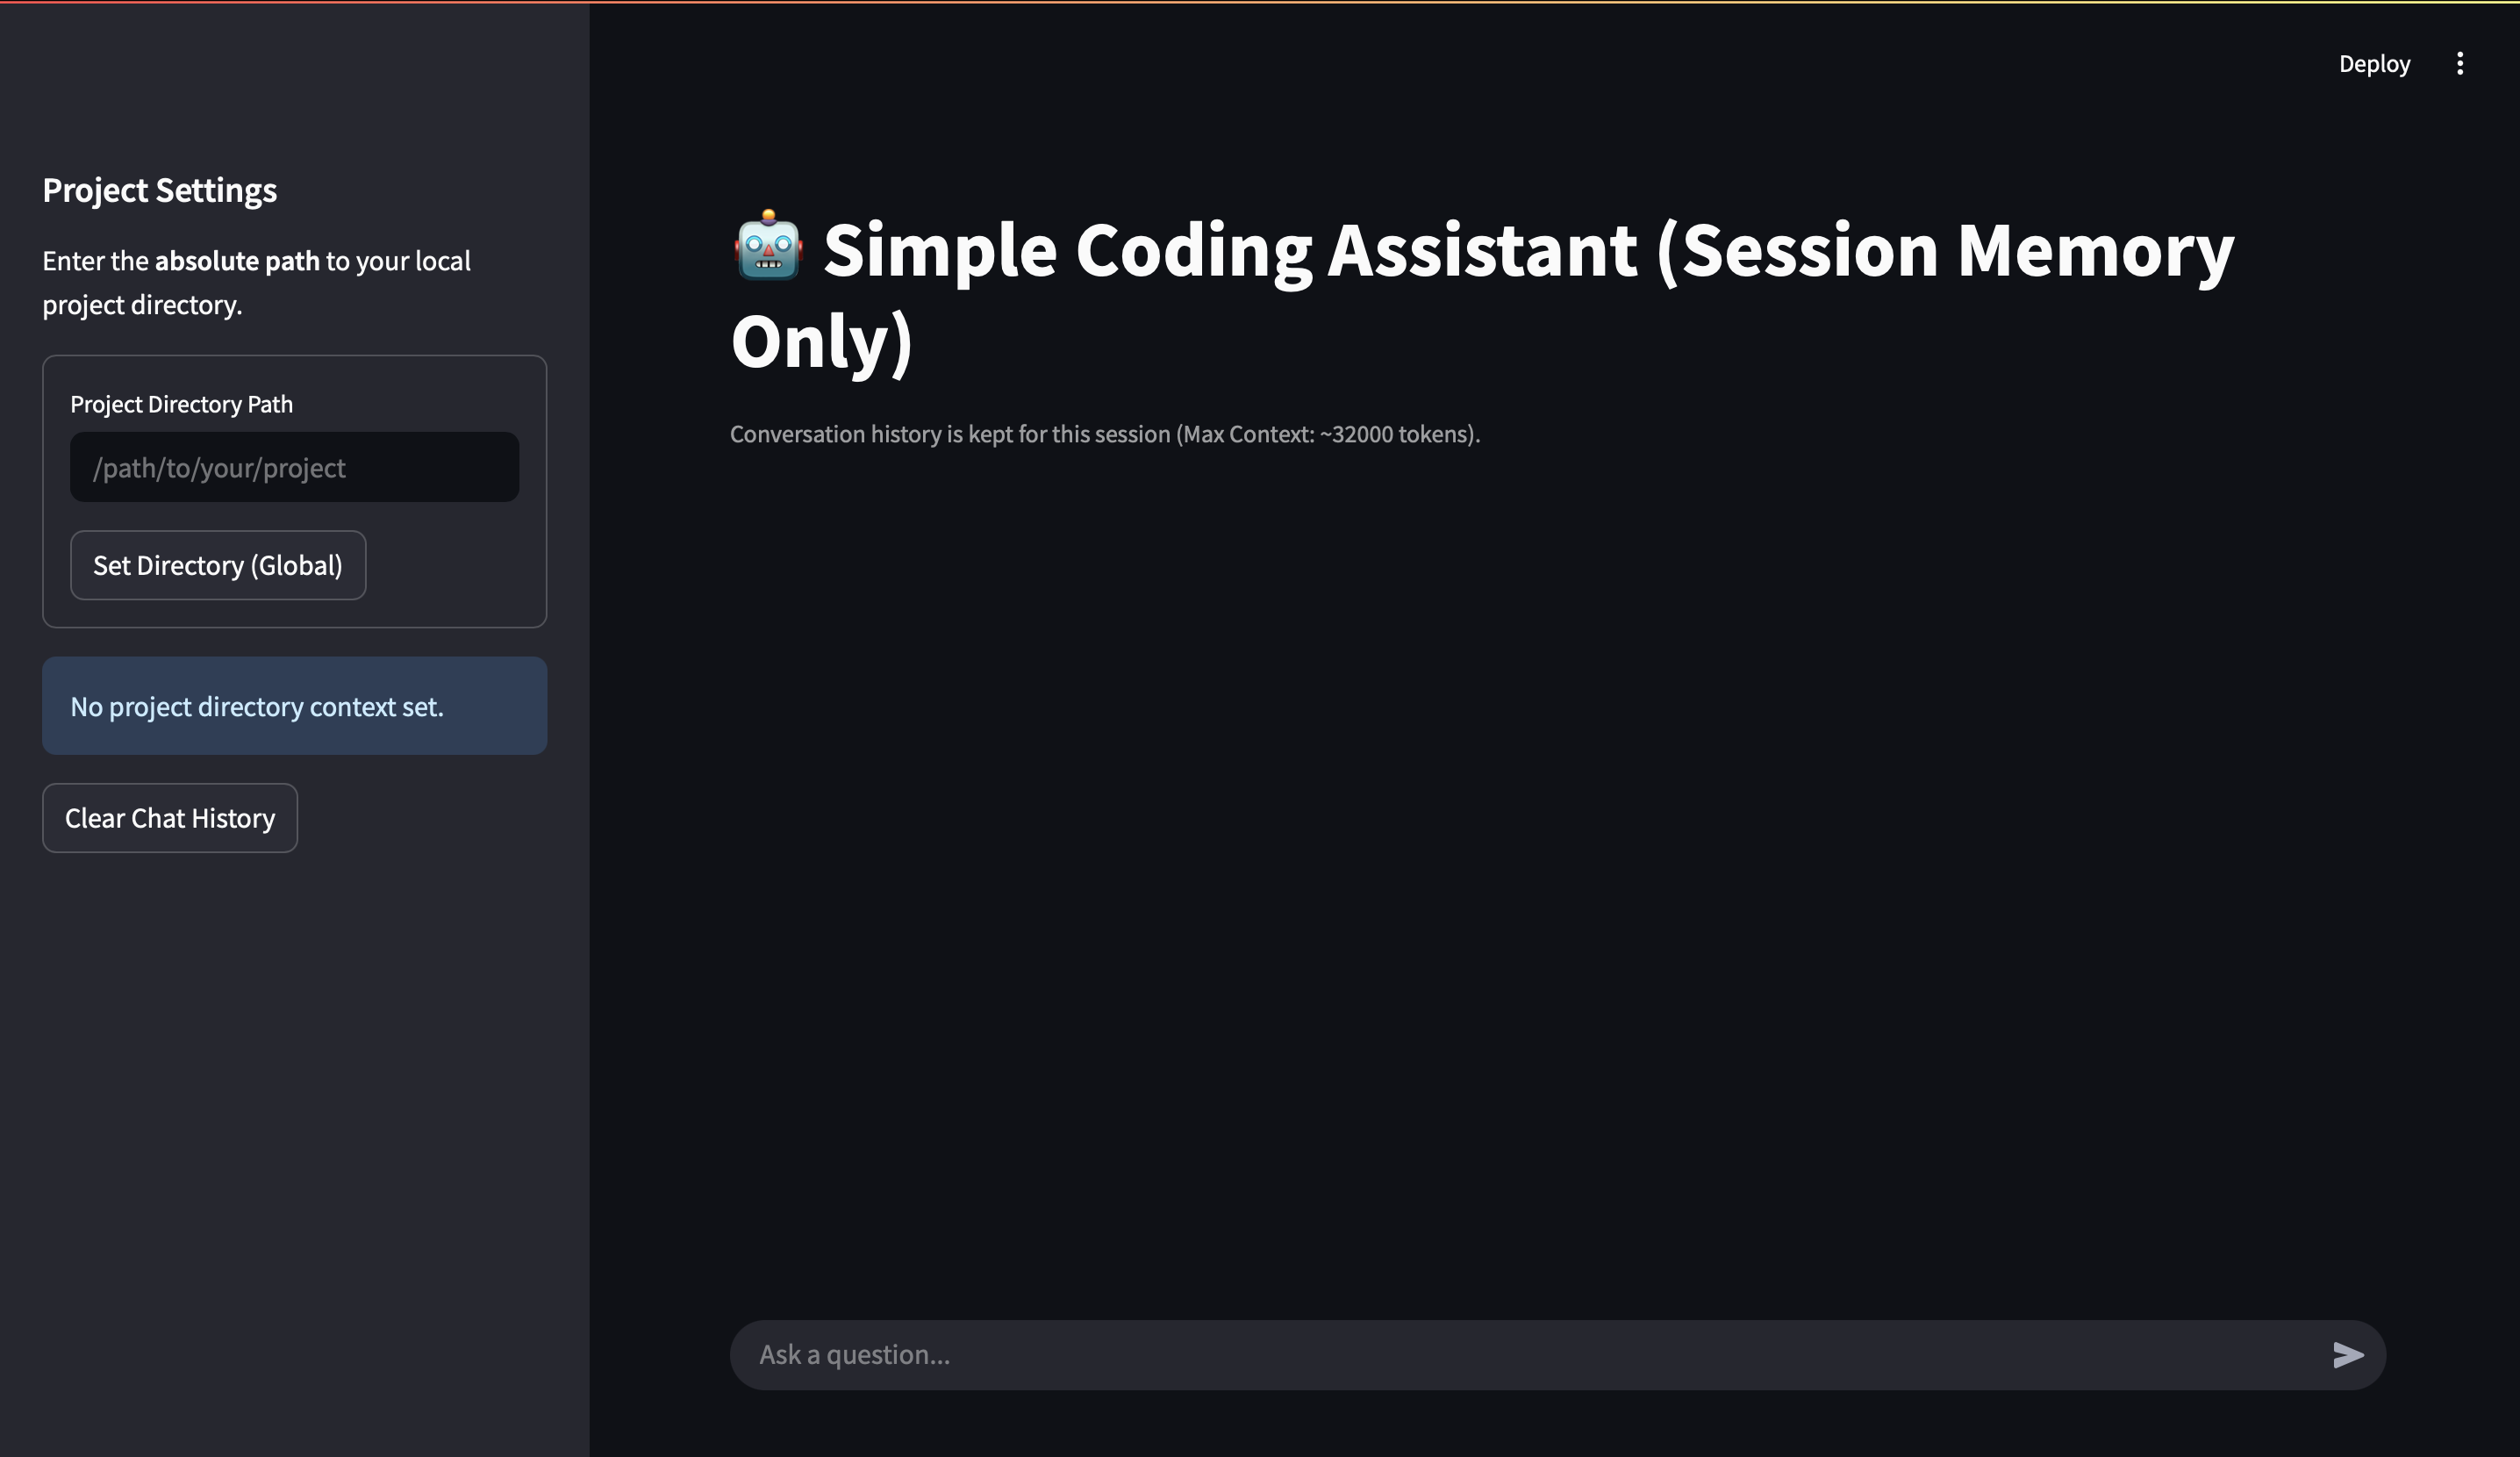
http://localhost:8501). - Set Project Directory: In the sidebar, enter the absolute path to the local project directory you want the assistant to work with. Click “Set Directory”.
- Chat: Use the chat input at the bottom to ask questions about the code in the specified directory. Examples:
- “Explain the purpose of the
run_agentfunction inapi.py.” - “Show me the file structure of this project.” (Uses
tree) - “What arguments does the
generate_response_apifunction take?” - “Read the contents of
prompt.py.” (Usescat) - “Can you suggest improvements to the error handling in
streamlit_app.py?”
- “Explain the purpose of the
- Follow-up: The assistant remembers the context of your current chat session. Ask follow-up questions naturally.
- Clear History: Use the “Clear Chat History” button in the sidebar to start a fresh conversation.
Dev Tools Supporting MCP
The following are the main code editors that support the Model Context Protocol. Click the link to visit the official website for more information.


