Image Gen Mcp Server
What is Image Gen Mcp Server
image-gen-mcp-server is a Model Context Protocol (MCP) server designed for image generation using the Tencent Hunyuan API. It allows users to create images based on textual descriptions.
Use cases
Use cases for image-gen-mcp-server include generating artwork for marketing campaigns, creating unique images for blog posts, producing illustrations for books, and developing visual content for online platforms.
How to use
To use image-gen-mcp-server, first install the required dependencies using either the UV package manager or traditional pip. Set up your environment by creating a .env file with your Tencent credentials, then run the server using the command ‘python mcp_image_server.py’.
Key features
Key features of image-gen-mcp-server include generating images from text descriptions, supporting multiple image styles and resolutions, and allowing negative prompts to exclude unwanted elements.
Where to use
image-gen-mcp-server can be used in various fields such as digital art creation, content generation for social media, advertising, and any application requiring automated image generation from text.
Clients Supporting MCP
The following are the main client software that supports the Model Context Protocol. Click the link to visit the official website for more information.


Overview
What is Image Gen Mcp Server
image-gen-mcp-server is a Model Context Protocol (MCP) server designed for image generation using the Tencent Hunyuan API. It allows users to create images based on textual descriptions.
Use cases
Use cases for image-gen-mcp-server include generating artwork for marketing campaigns, creating unique images for blog posts, producing illustrations for books, and developing visual content for online platforms.
How to use
To use image-gen-mcp-server, first install the required dependencies using either the UV package manager or traditional pip. Set up your environment by creating a .env file with your Tencent credentials, then run the server using the command ‘python mcp_image_server.py’.
Key features
Key features of image-gen-mcp-server include generating images from text descriptions, supporting multiple image styles and resolutions, and allowing negative prompts to exclude unwanted elements.
Where to use
image-gen-mcp-server can be used in various fields such as digital art creation, content generation for social media, advertising, and any application requiring automated image generation from text.
Clients Supporting MCP
The following are the main client software that supports the Model Context Protocol. Click the link to visit the official website for more information.
Content
MCP Image Generation Server
A Model Context Protocol (MCP) server for image generation using Tencent Hunyuan API.
Features
- Generate images from text descriptions
- Support for multiple image styles
- Support for different image resolutions
- Negative prompts for excluding unwanted elements
Installation
Using UV (Recommended)
UV is a fast, modern Python package manager. Recommended usage:
# Install UV (Windows)
curl -sSf https://astral.sh/uv/install.ps1 | powershell

# Install UV (macOS/Linux)
curl -sSf https://astral.sh/uv/install.sh | bash

# Clone the project and enter the directory
cd path/to/image-gen-mcp-server

# Create a UV virtual environment
uv venv
# Or specify an environment name
# uv venv my-env-name

# Activate the virtual environment (Windows)
.venv\Scripts\activate
# Activate the virtual environment (macOS/Linux)
source .venv/bin/activate

# Install dependencies (recommended)
uv pip install -e .

# Or use the lock file for exact versions
uv pip install -r requirements.lock.txt
Using Traditional pip
If you prefer traditional pip:
# Create a virtual environment
python -m venv venv
# Activate the virtual environment (Windows)
venv\Scripts\activate
# Activate the virtual environment (macOS/Linux)
source venv/bin/activate

# Install dependencies
pip install -e .
# Or use the lock file
pip install -r requirements.lock.txt
Environment Setup
Create a .env file in the project root with the following content:
TENCENT_SECRET_ID=your_tencent_secret_id
TENCENT_SECRET_KEY=your_tencent_secret_key
MCP_IMAGE_SAVE_DIR=your_saved_img_dir
Usage
Running the MCP Server
You can run the MCP server as follows:
# Directly run the script
python mcp_image_server.py
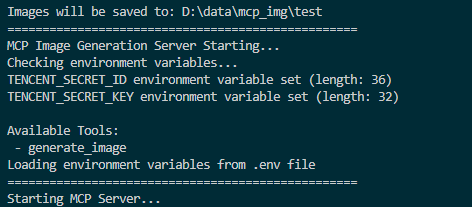
Screenshot of MCP server running successfully:
Connecting to the Server
You can connect from MCP-compatible client(recommand cursor now). The server provides the following features:
Resources
styles://list- List all available image stylesresolutions://list- List all available image resolutions
Tools
generate_image- Generate images based on prompt, style, and resolution
Prompts
image_generation_prompt- Create image generation prompt templates
Cursor Integration
To add this MCP server in Cursor:
- Open Cursor
- Go to Settings > Features > MCP
- Click “+ Add New MCP Server”
- Fill in the configuration:
- Name:
Image Generator(or any descriptive name) - Type:
stdio - Command: Full command, must include the absolute path to Python and the script
- Name:
mcp.json format:
{
  "mcpServers": {
    "image-generation": {
      "name": "image-generation service",
      "description": "support the image generation service using tencent hunyuan API",
      "type": "stdio",
      "command": "D:\\your_path\\image-gen-mcp-server\\.venv\\Scripts\\python.exe",
      "args": [
        "D:\\your_path\\image-gen-mcp-server\\mcp_image_server.py"
      ],
      "environment": [
        "TENCENT_SECRET_ID",
        "TENCENT_SECRET_KEY",
        "MCP_IMAGE_SAVE_DIR"
      ],
      "autoRestart": true,
      "startupTimeoutMs": 30000
    }
  }
}
Environment Variables
When configuring the MCP server in Cursor, set the following environment variables:
TENCENT_SECRET_ID: Your Tencent Cloud API Secret IDTENCENT_SECRET_KEY: Your Tencent Cloud API Secret KeyMCP_IMAGE_SAVE_DIR: Yur save image dir,e.g.: D:\data\mcp_img
Verification
- Save the configuration
- Restart Cursor
- Start a new chat and enter: “Generate a mountain landscape image”
- If everything is set up correctly, the AI will use your MCP server to generate the image
Note: The first time you use it, Cursor may ask for permission to use this MCP server.
Let’s look at the steps in Cursor:
-
step_1: types your generate command in cursor
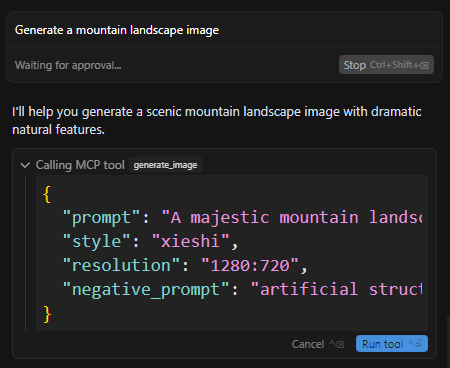
-
step_2: after your approval it will call the mcp image-gen tool and save it
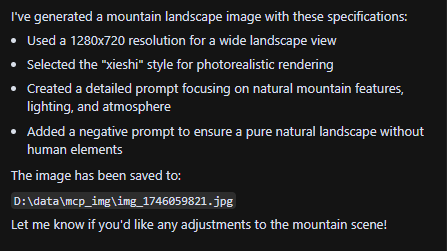
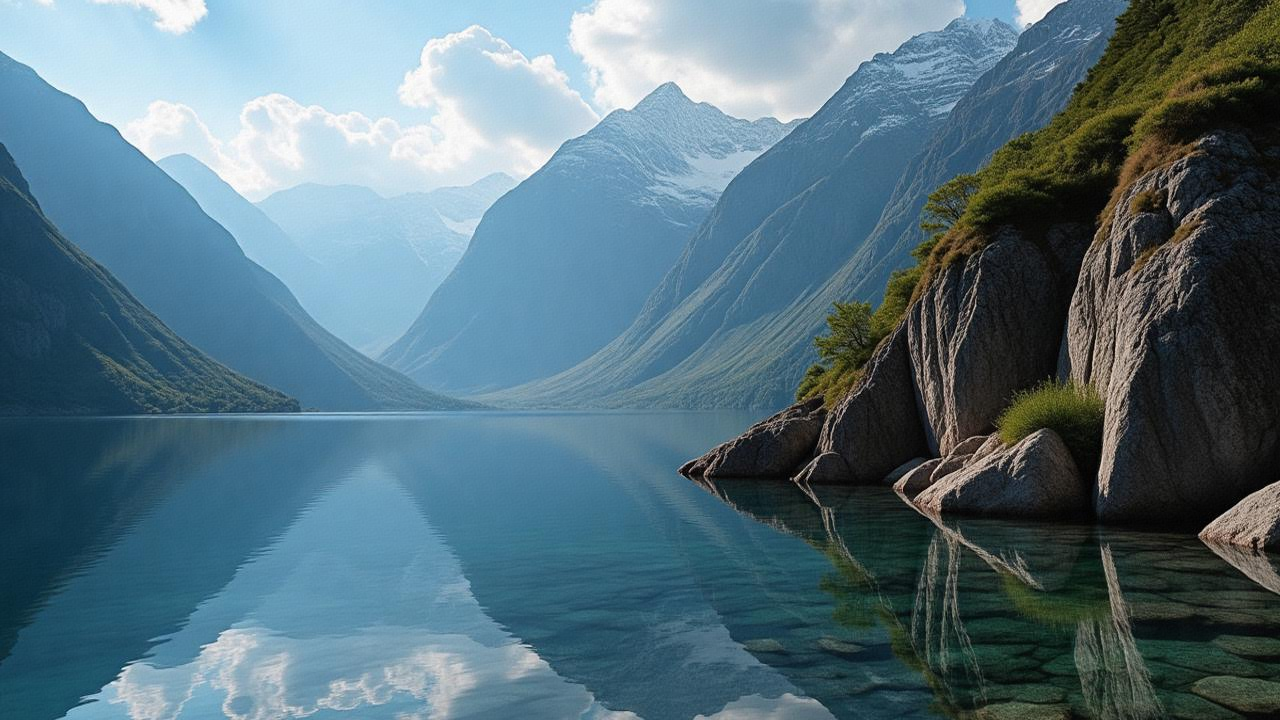
-
Step 3: View or use the image saved in the directory (MCP_IMAGE_SAVE_DIR) you have set in the .env file
You can also ask Cursor to design images for your website ✨. Cursor can use the MCP tool to generate images that match your specific layout requirements 🎨. Perfect for creating beautiful web designs!
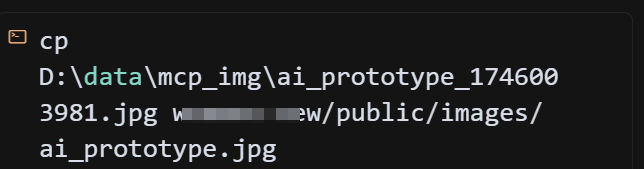
Tip: You don’t need to manually move the generated images from the save directory to your project directory. Cursor will handle this automatically after your approval. This is one of the main advantages of using Cursor.
-
Planning the move

-
Executing the move
-
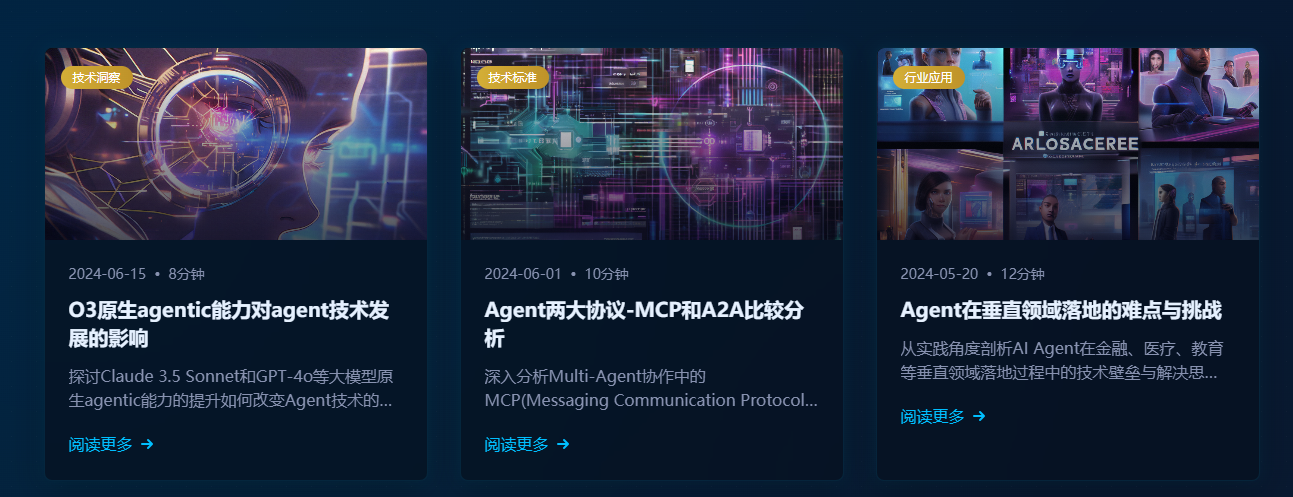
Example Performance
Original web design:

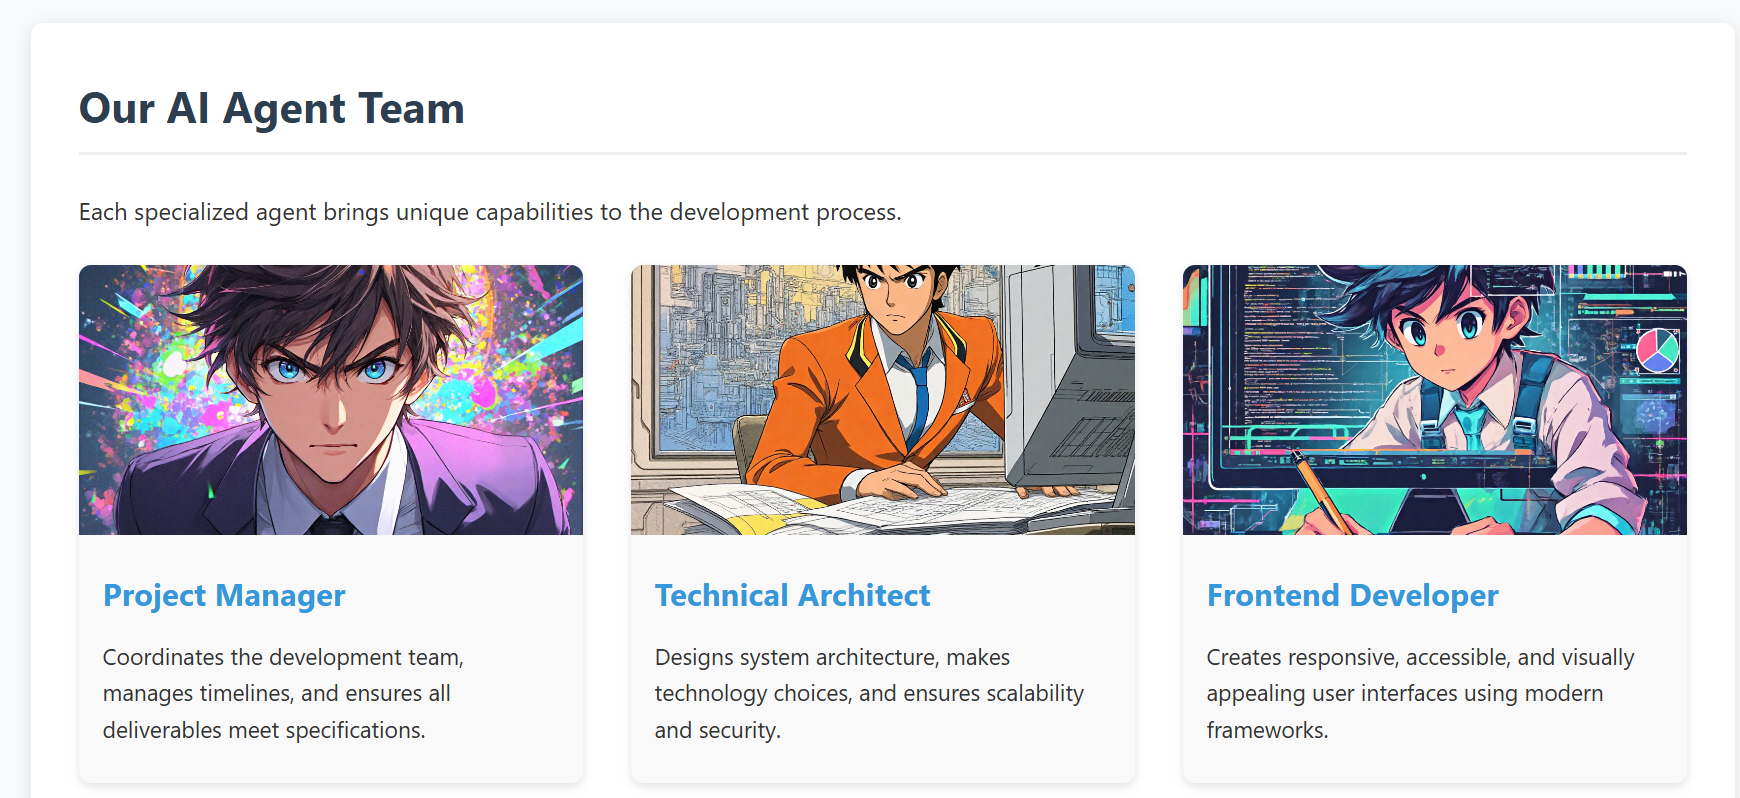
New design after generating and moving the image to the project using Cursor:
Troubleshooting
- Ensure environment variables are set correctly
- Check for spaces in paths; use quotes if needed
- Ensure the virtual environment is activated (if using one)
- Try running the server script directly to check for errors
- Check UV environment with
uv --version
Front-end Demo
For a front-end integration example, see web-design-demo/.
This example demonstrates how to develop a real project using Cursor IDE, where you can generate and manage images directly within your development environment using our MCP tool 🛠️. No need to switch between different image generation tools or leave your IDE - everything can be done right in your development workflow ✨.
- screenshot of the demo web
API Reference
Tencent Hunyuan Image Generation API
The project currently uses Tencent Hunyuan Image Generation API. Here are the key details:
API Endpoints
- Domain:
hunyuan.tencentcloudapi.com - Region:
ap-guangzhou(Currently only supports Guangzhou region) - Default API Rate Limit: 20 requests/second
- Concurrent Tasks: Default 1 task at a time
Task Flow
- Submit Task: Submit an asynchronous image generation task with text description
- Query Task: Get task status and results using task ID
- Result URL: Generated image URLs are valid for 1 hour
For detailed API documentation and pricing, please refer to:
License
RoadMap
-
Current Version
- Only supports Tencent Hunyuan image generation API
-
Future Plans
- Support more mainstream text-to-image model APIs, including:
- OpenAI GPT-4o / gpt-image-1
- Alibaba Tongyi Wanxiang
- Baidu ERNIE-ViLG
- Select backend model via environment variable for flexible switching and extension
- Support more mainstream text-to-image model APIs, including:
Community contributions for more model integrations and new features are welcome!
Compatibility
-
This project has been verified to work with the Cursor and Windsurf IDE MCP integration.
-
windsurf is also supported to integrated now
-
screenshot of mcp tool call in windsurf
-
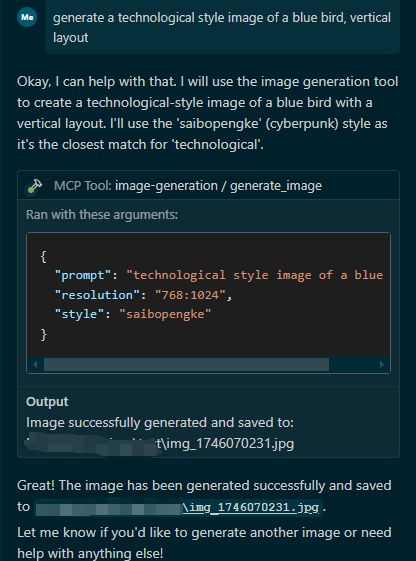
-
and the result as follows
-

-
-
-
Future plans include supporting more IDEs and development environments compatible with the Model Context Protocol (MCP).
Acknowledgments
This project is built with FastMCP as the core framework, a powerful implementation of the Model Context Protocol. The MCP integration is based on:
- FastMCP: A fast, Pythonic way to build MCP servers
- MCP Python SDK: The official Python SDK for Model Context Protocol
We also use these excellent open-source projects:
- UV: A fast Python package installer and resolver
- Python-dotenv: Reads key-value pairs from .env file
- Tencentcloud-sdk-python: Official Tencent Cloud SDK for Python
Contributing
We welcome contributions of all kinds! Here are some ways you can help:
- 🐛 Report bugs and issues
- 💡 Suggest new features or improvements
- 🔧 Submit pull requests
- 🎨 Add support for more image generation models
Getting Started with Contributing
- Fork the repository
- Create your feature branch (
git checkout -b feature/AmazingFeature) - Commit your changes (
git commit -m 'feat: add some AmazingFeature') - Push to the branch (
git push origin feature/AmazingFeature) - Open a Pull Request
Please make sure to update tests as appropriate and follow the existing coding style.
We appreciate your interest in making this project better!
Dev Tools Supporting MCP
The following are the main code editors that support the Model Context Protocol. Click the link to visit the official website for more information.


