Jupyter MCP Server
What is Jupyter MCP Server
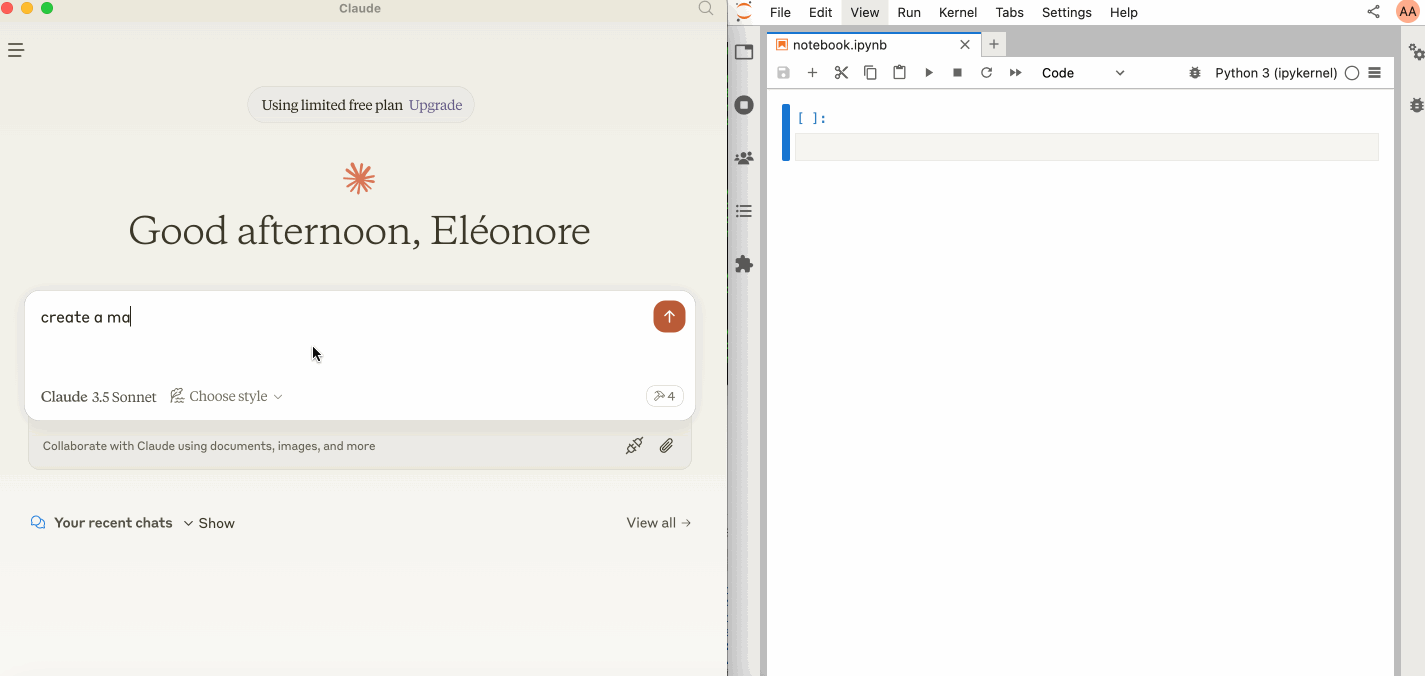
Jupyter MCP Server is an implementation of the Model Context Protocol (MCP) that facilitates real-time interaction with Jupyter notebooks. It allows users to monitor and control JupyterLab sessions from various MCP-compatible clients, enhancing collaboration and workflow efficiency.
Use cases
The Jupyter MCP Server can be used in educational settings for interactive teaching, in data science for live coding demonstrations, or in collaborative projects where multiple users need to engage with notebooks simultaneously. It supports smart execution and instant feedback, making it ideal for experimentation and iterative development.
How to use
To use Jupyter MCP Server, set up your environment by installing necessary packages, start JupyterLab with specific parameters, and configure an MCP client of your choice. Configuration varies for different operating systems, with options for using Docker for easy containerization and deployment.
Key features
Key features include real-time control for immediate visibility of changes, smart execution that adapts to cell run failures, and compatibility with various MCP clients. The server offers extensive tools for advanced interactions, such as reading cells and executing code programmatically.
Where to use
The Jupyter MCP Server can be deployed in local JupyterLab environments or on remote servers, making it suitable for individual use, team collaboration, or as part of larger data science infrastructure in cloud environments or on-premise solutions.
Clients Supporting MCP
The following are the main client software that supports the Model Context Protocol. Click the link to visit the official website for more information.


Overview
What is Jupyter MCP Server
Jupyter MCP Server is an implementation of the Model Context Protocol (MCP) that facilitates real-time interaction with Jupyter notebooks. It allows users to monitor and control JupyterLab sessions from various MCP-compatible clients, enhancing collaboration and workflow efficiency.
Use cases
The Jupyter MCP Server can be used in educational settings for interactive teaching, in data science for live coding demonstrations, or in collaborative projects where multiple users need to engage with notebooks simultaneously. It supports smart execution and instant feedback, making it ideal for experimentation and iterative development.
How to use
To use Jupyter MCP Server, set up your environment by installing necessary packages, start JupyterLab with specific parameters, and configure an MCP client of your choice. Configuration varies for different operating systems, with options for using Docker for easy containerization and deployment.
Key features
Key features include real-time control for immediate visibility of changes, smart execution that adapts to cell run failures, and compatibility with various MCP clients. The server offers extensive tools for advanced interactions, such as reading cells and executing code programmatically.
Where to use
The Jupyter MCP Server can be deployed in local JupyterLab environments or on remote servers, making it suitable for individual use, team collaboration, or as part of larger data science infrastructure in cloud environments or on-premise solutions.
Clients Supporting MCP
The following are the main client software that supports the Model Context Protocol. Click the link to visit the official website for more information.
Content


🪐✨ Jupyter MCP Server

Jupyter MCP Server is a Model Context Protocol (MCP) server implementation that provides interaction with 📓 Jupyter notebooks running in any JupyterLab (works also with your 💻 local JupyterLab).
🚀 Key Features
- ⚡ Real-time control: Instantly view notebook changes as they happen.
- 🔁 Smart execution: Automatically adjusts when a cell run fails thanks to cell output feedback.
- 🤝 MCP-Compatible: Works with any MCP client, such as Claude Desktop, Cursor, Windsurf, and more.
🛠️ This MCP offers multiple tools such as insert_execute_code_cell, append_markdown_cell, get_notebook_info, read_cell, and more, enabling advanced interactions with Jupyter notebooks. Explore our Tools documentation to learn about all the tools powering Jupyter MCP Server.
🏁 Getting Started
Follow our Setup Guide or use the quick steps below:
1. Set Up Your Environment
pip install jupyterlab==4.4.1 jupyter-collaboration==4.0.2 ipykernel
pip uninstall -y pycrdt datalayer_pycrdt
pip install datalayer_pycrdt==0.12.17
2. Start JupyterLab
jupyter lab --port 8888 --IdentityProvider.token MY_TOKEN --ip 0.0.0.0
3. Configure Your Preferred MCP Client
MacOS and Windows
{
  "mcpServers": {
    "jupyter": {
      "command": "docker",
      "args": [
        "run",
        "-i",
        "--rm",
        "-e",
        "SERVER_URL",
        "-e",
        "TOKEN",
        "-e",
        "NOTEBOOK_PATH",
        "datalayer/jupyter-mcp-server:latest"
      ],
      "env": {
        "SERVER_URL": "http://host.docker.internal:8888",
        "TOKEN": "MY_TOKEN",
        "NOTEBOOK_PATH": "notebook.ipynb"
      }
    }
  }
}
Linux
{
  "mcpServers": {
    "jupyter": {
      "command": "docker",
      "args": [
        "run",
        "-i",
        "--rm",
        "-e",
        "SERVER_URL",
        "-e",
        "TOKEN",
        "-e",
        "NOTEBOOK_PATH",
        "--network=host",
        "datalayer/jupyter-mcp-server:latest"
      ],
      "env": {
        "SERVER_URL": "http://localhost:8888",
        "TOKEN": "MY_TOKEN",
        "NOTEBOOK_PATH": "notebook.ipynb"
      }
    }
  }
}
For detailed instructions on configuring various MCP clients—including Claude Desktop, Cursor, Cline, and Windsurf—see the Clients documentation.
📚 Resources
Looking for blog posts, videos, or other materials about Jupyter MCP Server?
👉 Visit the Resources section for more.
Dev Tools Supporting MCP
The following are the main code editors that support the Model Context Protocol. Click the link to visit the official website for more information.


