Mcp Demo Project
What is Mcp Demo Project
mcp_demo_project is a complete example of a weather query agent built using MCP and large models like OpenAI, DeepSeek, and Qwen. It utilizes the OpenWeatherMap API to fetch weather data.
Use cases
Use cases for mcp_demo_project include building a weather query chatbot, integrating weather data into applications, and providing weather information in customer service scenarios.
How to use
To use mcp_demo_project, clone the repository from GitHub, set up a conda environment, install the required dependencies, and configure the .env file with your model keys. You can then run the client and server scripts for different models to query weather information.
Key features
Key features of mcp_demo_project include support for multiple large models (Claude, OpenAI, DeepSeek, Qwen), integration with the OpenWeatherMap API for real-time weather data, and a user-friendly setup process with detailed instructions.
Where to use
mcp_demo_project can be used in various fields such as weather forecasting applications, chatbot development, and any scenario requiring real-time weather information retrieval.
Clients Supporting MCP
The following are the main client software that supports the Model Context Protocol. Click the link to visit the official website for more information.


Overview
What is Mcp Demo Project
mcp_demo_project is a complete example of a weather query agent built using MCP and large models like OpenAI, DeepSeek, and Qwen. It utilizes the OpenWeatherMap API to fetch weather data.
Use cases
Use cases for mcp_demo_project include building a weather query chatbot, integrating weather data into applications, and providing weather information in customer service scenarios.
How to use
To use mcp_demo_project, clone the repository from GitHub, set up a conda environment, install the required dependencies, and configure the .env file with your model keys. You can then run the client and server scripts for different models to query weather information.
Key features
Key features of mcp_demo_project include support for multiple large models (Claude, OpenAI, DeepSeek, Qwen), integration with the OpenWeatherMap API for real-time weather data, and a user-friendly setup process with detailed instructions.
Where to use
mcp_demo_project can be used in various fields such as weather forecasting applications, chatbot development, and any scenario requiring real-time weather information retrieval.
Clients Supporting MCP
The following are the main client software that supports the Model Context Protocol. Click the link to visit the official website for more information.
Content
项目介绍
mcp的天气查询的agent的完整示例-支持stdio模式,和 sse两种模式,提供的webui可视化界面,方便mcp的问答;
v1.2 版本 更新
新增webui界面,方便用户问答;
支持配置多个sse的服务端;
v1.1 版本 更新
支持sse、stdio两种模式;
支持claude、openai、deepseek、qwen等大模型;
天气查询api,采用 openweathermap
可以访问openweathermap的网址,获取apikey;
网址: https://home.openweathermap.org/subscriptions
作者公众号: AI小新 , 有问题,可以加群交流;关注公众号,发送数字2,获取小助手微信;
公众号:

小助手微信:

下面开始部署教程
# 下载代码

git clone  https://github.com/aixiaoxin123/mcp_demo_project.git
进入代码目录
cd mcp_demo_project
创建conda环境
conda create -n mcp_demo python=3.10
conda activate mcp_demo
安装uv 工具
pip install uv -i https://pypi.tuna.tsinghua.edu.cn/simple/
uv --version
利用uv 在当前目录,创建一个虚拟环境
uv venv
激活虚拟环境
linux 下命令
source .venv/bin/activate
windows 下命令(作者用的此命令)
.venv\Scripts\activate
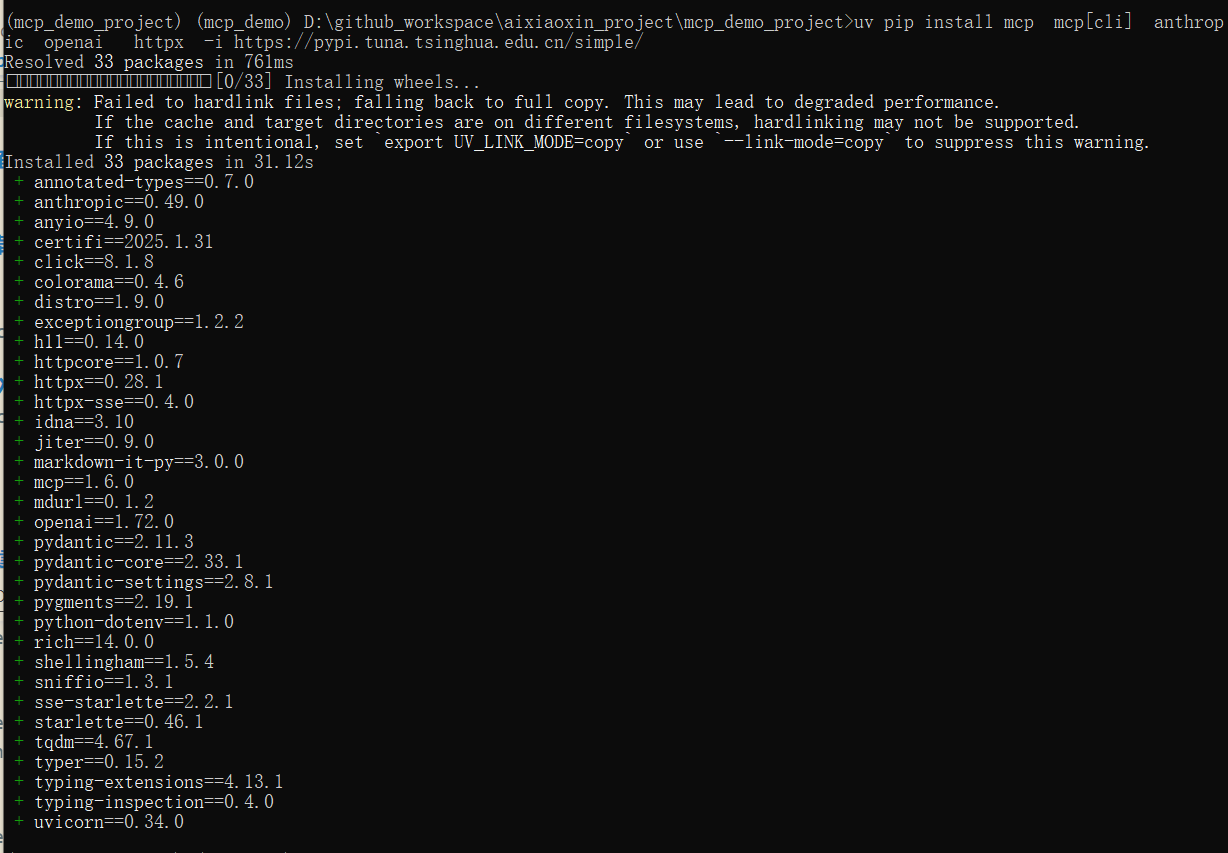
uv 安装对应的依赖包
uv pip install -r requirements.txt -i https://pypi.tuna.tsinghua.edu.cn/simple/
截图:
启动mcp服务
运行 客户端和本地服务端
配置.env 文件,填入你的大模型密钥
一、stdio模式的示例,下面会介绍sse模式的示例
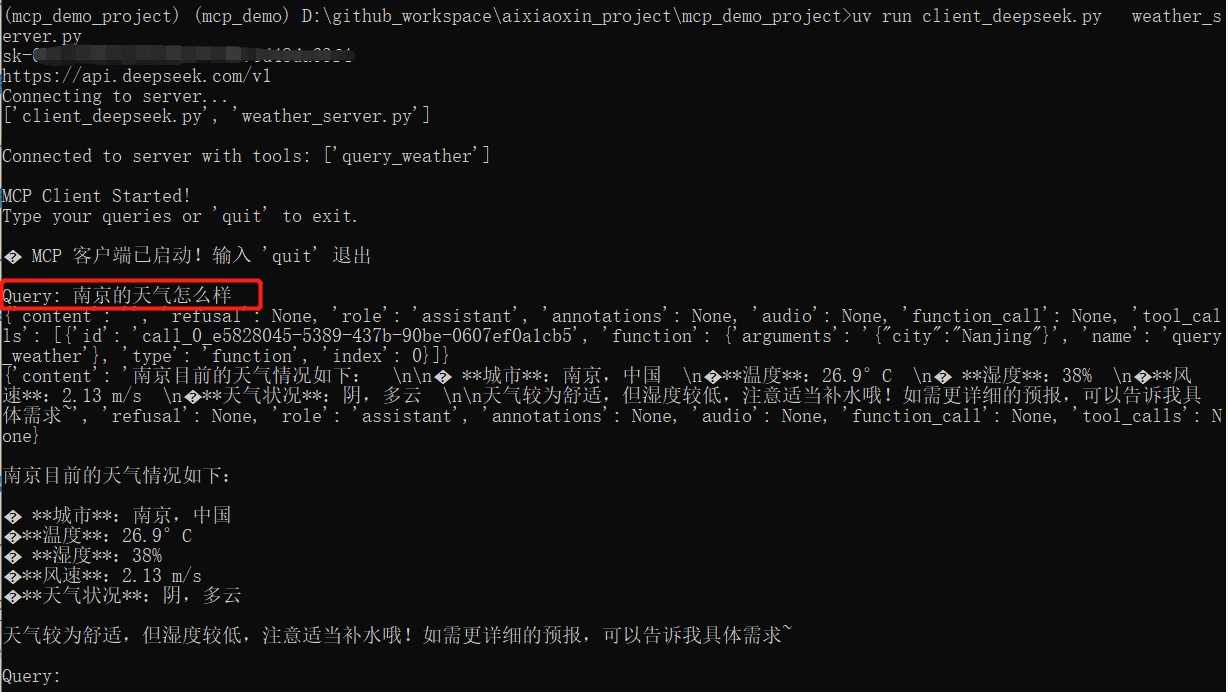
利用deepseek大模型进行问答
进入 stdio_demo 的文件夹
cd stdio_demo
运行客户端和本地服务端
uv run client_deepseek.py weather_server.py
运行截图:
问题:北京的天气怎么样?
利用claude大模型进行问答
uv run client_claude.py weather_server.py
运行截图:
问题:北京的天气怎么样?
uv run client_deepseek.py weather_server.py
利用qwen大模型进行问答
uv run client_qwen.py weather_server.py
利用openai模型进行问答
uv run client_openai.py weather_server.py
运行deepseek的截图
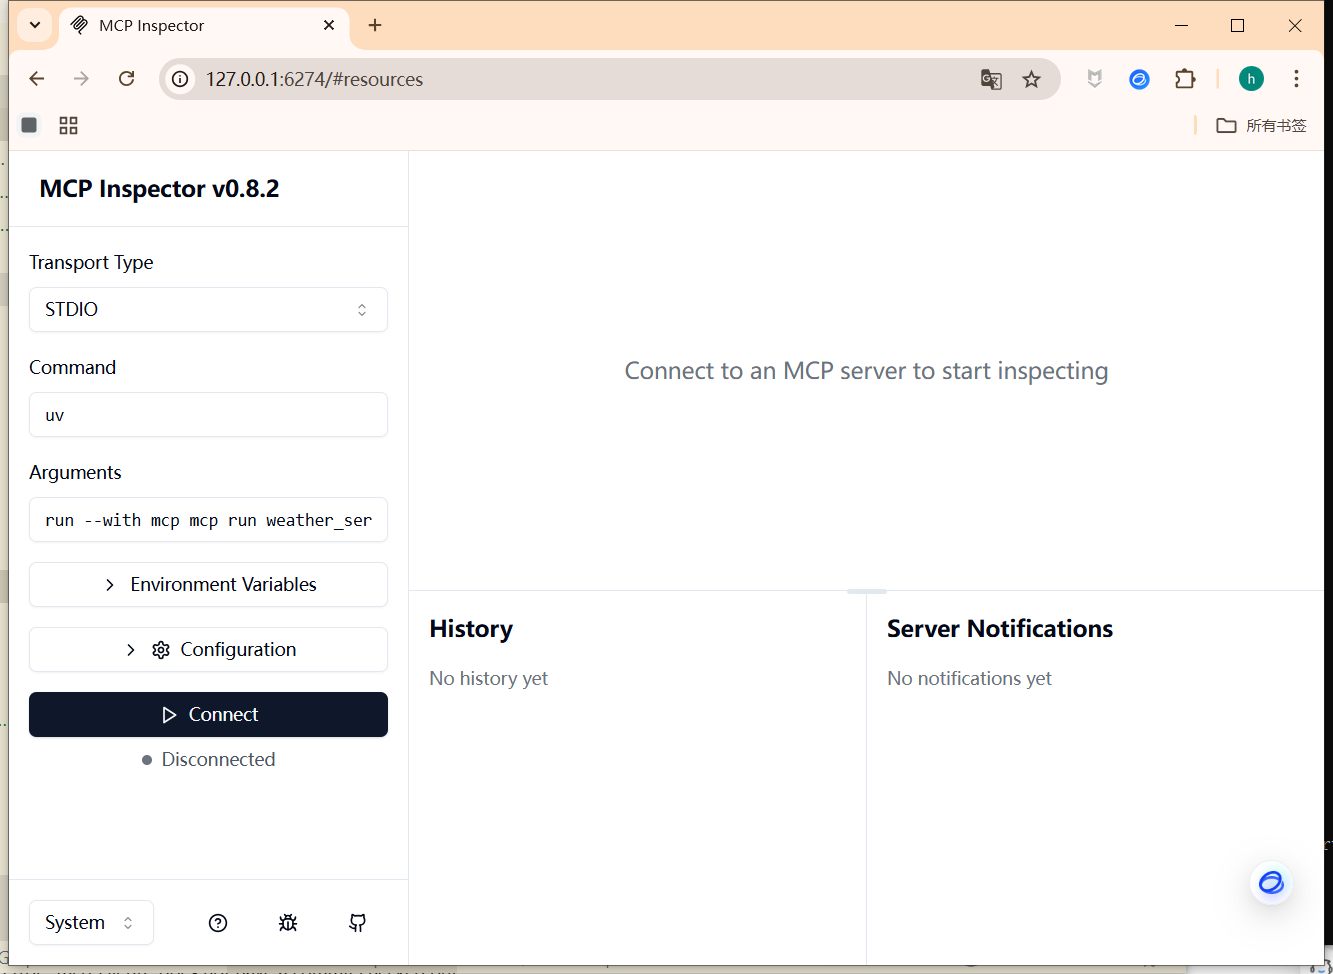
当然你也可以单独运行 mcp服务端[stdio模式]
uv run mcp dev weather_server.py
运行截图:

运行成功后,可以访问:
http://127.0.0.1:6274
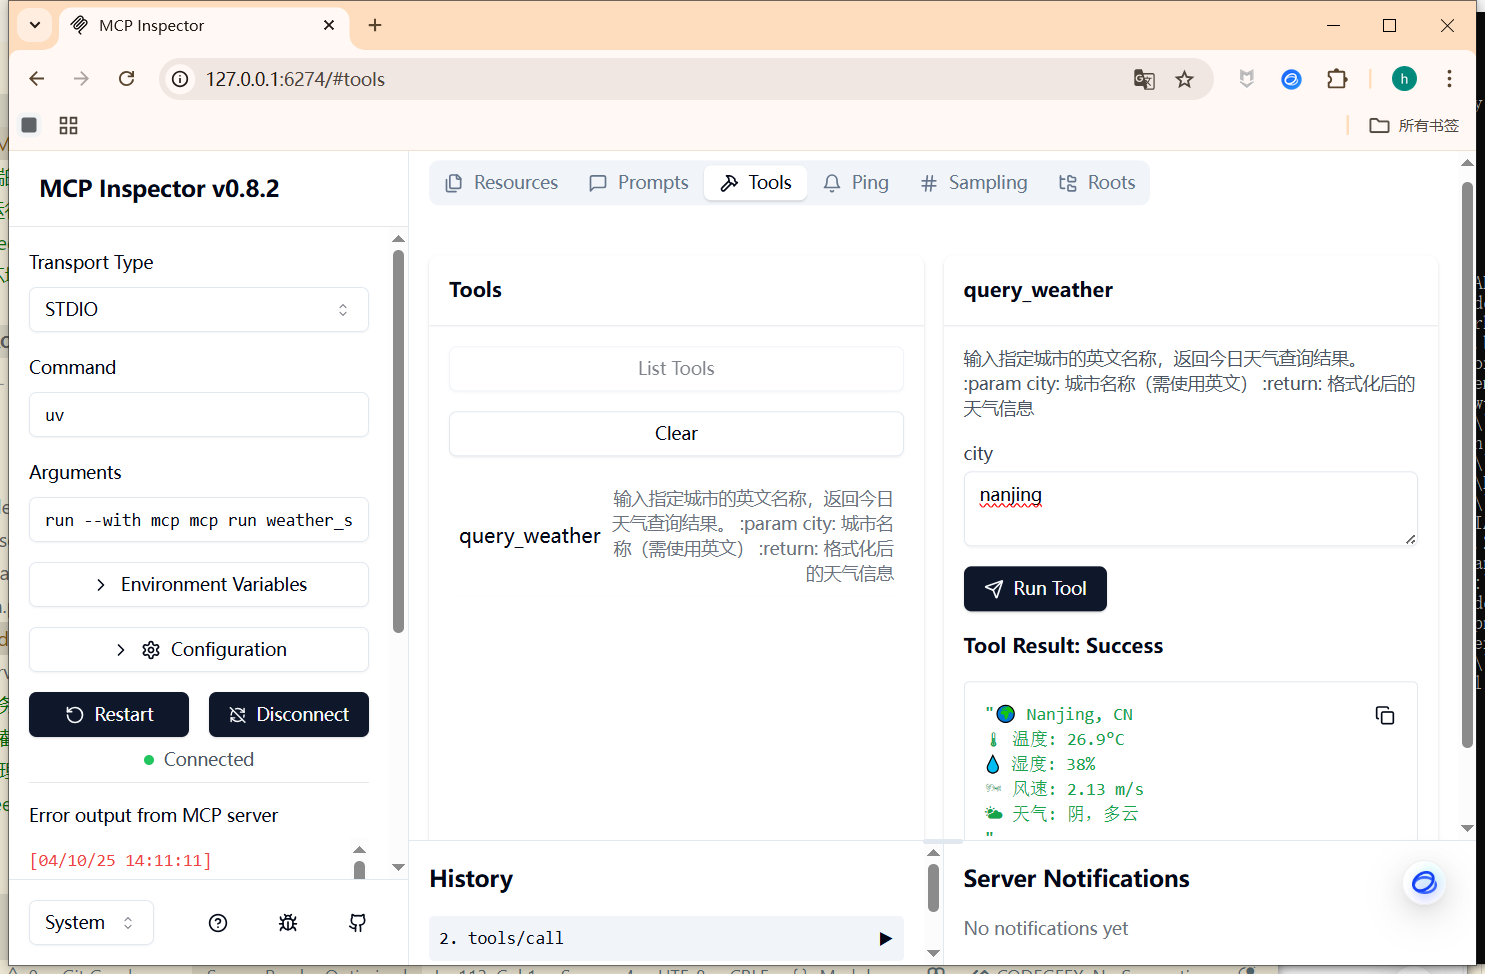
服务端的管理界面:
服务端-工具列表使用截图:
二、sse模式mcp的示例
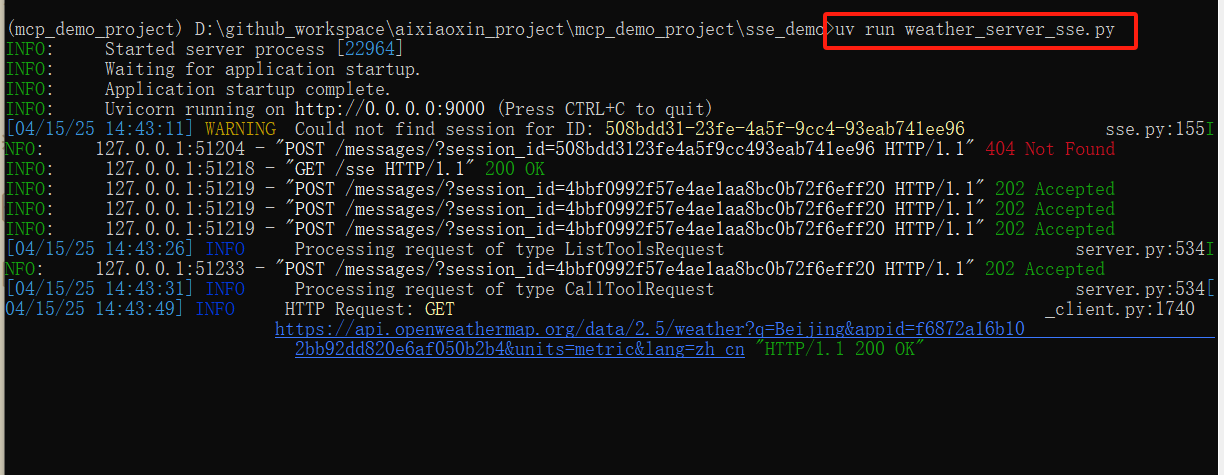
1、运行sse的服务端 weather_server_sse.py
#进入sse_demo 的文件夹
cd sse_demo

#运行sse的服务端,端口默认为9000

uv run weather_server_sse.py
运行截图:
2、利用ollama本地大模型进行问答
uv run client_sse_ollama.py http://127.0.0.1:9000/sse
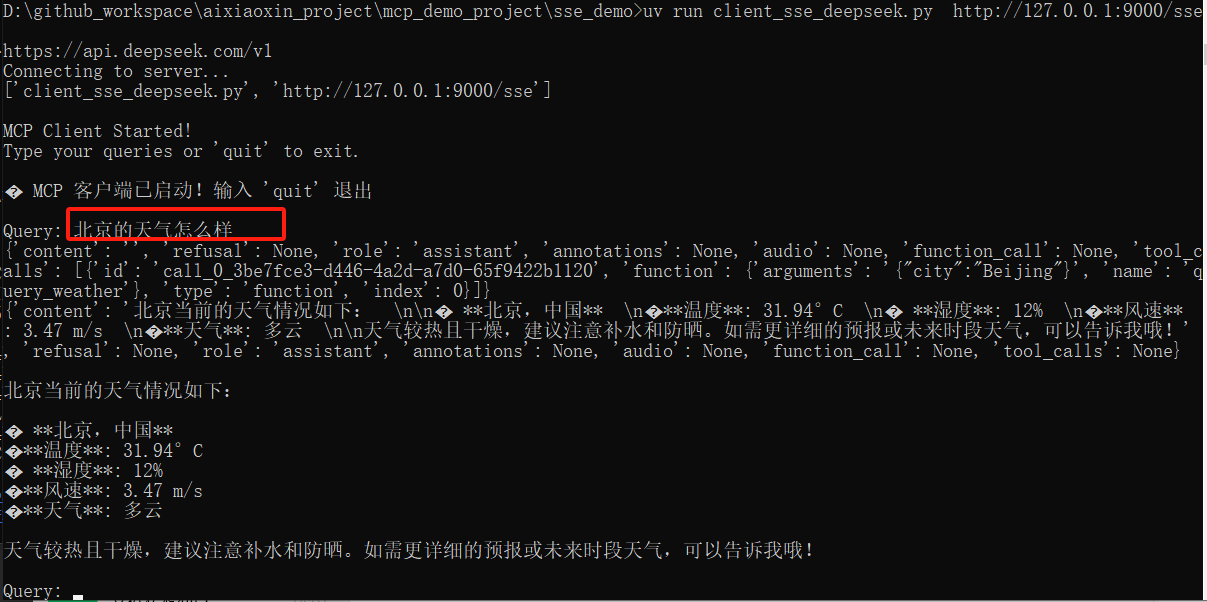
3、运行deepseek的mcp 客户端 连接sse服务端
uv run client_sse_deepseek.py http://127.0.0.1:9000/sse
运行截图:
问题:北京的天气怎么样?
三、mcp的webui界面
1、运行webui界面
#进入webui_demo 的文件夹
cd mcp_webui_demo

#运行webui界面,端口默认为7860


uv run webui_deepseek.py
2、使用教程
访问界面:
http://localhost:7860/
输入问题:帮我查找 知识图谱 相关的最新的论文
支持:实时返回结果;
运行结果截图:

在 魔塔的mcp社区,选择合适的mcp服务;
配置mcp的服务端:

或者修改 mcp.json 文件;
四、docker部署mcp的webui的教程(不推荐这种方式,dockerfile,国外源,下载速度很慢)
文件目录:
mcp_demo_project/
        mcp_webui_demo/
        │
        ├── webui_deepseek.py
        ├── requirements.txt
        ├── Dockerfile
        ├── .env                <-- 将被挂载
        ├── mcp.json            <-- 将被挂载
进入当前目录:
cd mcp_webui_demo
🐳 使用方式
- 构建镜像:
docker build -t mcp-webui .
- 运行容器:
🐳 启动容器时挂载:
docker run -it --rm \
  -v $(pwd)/.env:/app/.env \
  -v $(pwd)/mcp.json:/app/mcp.json \
  -p 7860:7860 \
  mcp-webui
参考教程:
mcp官方的文档:
https://mcp-docs.cn/introduction
Dev Tools Supporting MCP
The following are the main code editors that support the Model Context Protocol. Click the link to visit the official website for more information.


