Piapi Mcp Server
What is Piapi Mcp Server
piapi-mcp-server is a TypeScript implementation of a Model Context Protocol (MCP) server that integrates with PiAPI’s API, enabling users to generate media content using various tools like Midjourney, Flux, Kling, LumaLabs, Udio, Chrip, and Trellis directly from Claude or other MCP-compatible applications.
Use cases
Use cases for piapi-mcp-server include content creation for social media, generating multimedia presentations, developing interactive applications, and enhancing creative workflows in various industries.
How to use
To use piapi-mcp-server, clone the repository, install dependencies, and build the project. Configure the server with your PiAPI API key in the appropriate configuration files for applications like Claude Desktop or Cursor. After configuration, restart the application to connect to the server and start generating media content.
Key features
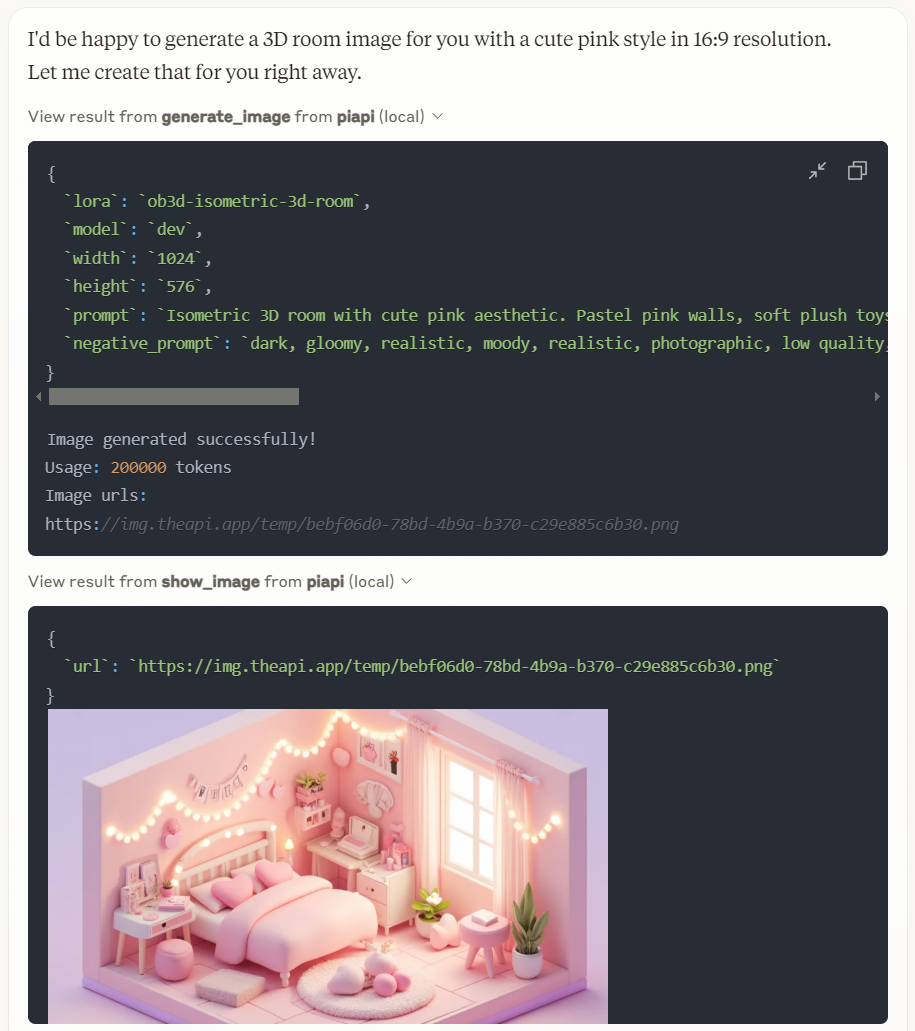
Key features include image and video generation from text/image prompts, music generation, TTS voice generation, and 3D model generation. It supports multiple media generation tools and provides an MCP Inspector for testing and debugging.
Where to use
undefined
Clients Supporting MCP
The following are the main client software that supports the Model Context Protocol. Click the link to visit the official website for more information.


Overview
What is Piapi Mcp Server
piapi-mcp-server is a TypeScript implementation of a Model Context Protocol (MCP) server that integrates with PiAPI’s API, enabling users to generate media content using various tools like Midjourney, Flux, Kling, LumaLabs, Udio, Chrip, and Trellis directly from Claude or other MCP-compatible applications.
Use cases
Use cases for piapi-mcp-server include content creation for social media, generating multimedia presentations, developing interactive applications, and enhancing creative workflows in various industries.
How to use
To use piapi-mcp-server, clone the repository, install dependencies, and build the project. Configure the server with your PiAPI API key in the appropriate configuration files for applications like Claude Desktop or Cursor. After configuration, restart the application to connect to the server and start generating media content.
Key features
Key features include image and video generation from text/image prompts, music generation, TTS voice generation, and 3D model generation. It supports multiple media generation tools and provides an MCP Inspector for testing and debugging.
Where to use
undefined
Clients Supporting MCP
The following are the main client software that supports the Model Context Protocol. Click the link to visit the official website for more information.
Content
piapi-mcp-server
A TypeScript implementation of a Model Context Protocol (MCP) server that integrates with PiAPI’s API. PiAPI makes user able to generate media content with Midjourney/Flux/Kling/LumaLabs/Udio/Chrip/Trellis directly from Claude or any other MCP-compatible apps.
Features (more coming soon)
Note: Time-consuming tools like video generation may not complete due to Claude’s timeout limitations
- [x] Base Image toolkit
- [x] Base Video toolkit
- [x] Flux Image generation from text/image prompt
- [x] Hunyuan Video generation from text/image prompt
- [x] Skyreels Video generation from image prompt
- [x] Wan Video generation from text/image prompt
- [x] MMAudio Music generation from video
- [x] TTS Zero-Shot voice generation
- [ ] Midjourney Image generation
- [x] imagine
- [ ] other
- [x] Kling Video and Effects generation
- [x] Luma Dream Machine video generation
- [x] Suno Music generation
- [ ] Suno Lyrics generation
- [ ] Udio Music and Lyrics generation
- [x] Trellis 3D model generation from image
- [ ] Workflow planning inside LLMs
Working with Claude Desktop Example
Prerequisites
- Node.js 16.x or higher
- npm or yarn
- A PiAPI API key (get one at piapi.ai)
Installation
- Clone the repository:
git clone https://github.com/apinetwork/piapi-mcp-server
cd piapi-mcp-server
- Install dependencies:
npm install
- Build the project:
npm run build
After building, a dist/index.js file will be generated. You can then configure this file with Claude Desktop and other applications. For detailed configuration instructions, please refer to the Usage section.
- (Optional) Test server with MCP Inspector:
First, create a .env file in the project root directory with your API key:
PIAPI_API_KEY=your_api_key_here
Then run the following command to start the MCP Inspector:
npm run inspect
After running the command, MCP Inspector will be available at http://localhost:5173 (default port: 5173). Open this URL in your browser to start testing. The default timeout for inspector operations is 10000ms (10 seconds), which may not be sufficient for image generation tasks. It’s recommended to increase the timeout when testing image generation or other time-consuming operations. You can adjust the timeout by adding a timeout parameter to the URL, for example: http://localhost:5173?timeout=60000 (sets timeout to 60 seconds)
The MCP Inspector is a powerful development tool that helps you test and debug your MCP server implementation. Key features include:
- Interactive Testing: Test your server’s functions directly through a web interface
- Real-time Feedback: See immediate results of your function calls and any errors that occur
- Request/Response Inspection: View detailed information about requests and responses
- Function Documentation: Browse available functions and their parameters
- Custom Parameters: Set custom timeout values and other configuration options
- History Tracking: Keep track of your previous function calls and their results
For detailed information about using the MCP Inspector and its features, visit the official MCP documentation.
Usage
Connecting to Claude Desktop
Add this to your Claude Desktop configuration file (~/Library/Application Support/Claude/claude_desktop_config.json on macOS or %APPDATA%\Claude\claude_desktop_config.json on Windows):
{
  "mcpServers": {
    "piapi": {
      "command": "node",
      "args": [
        "/absolute/path/to/piapi-mcp-server/dist/index.js"
      ],
      "env": {
        "PIAPI_API_KEY": "your_api_key_here"
      }
    }
  }
}
After updating your configuration file, you need to restart Claude for Desktop. Upon restarting, you should see a hammer icon in the bottom right corner of the input box.
For more detailed information, visit the official MCP documentation
Connecting to Cursor
Note: Following guide is based on Cursor 0.47.5. Features and behaviors may vary in different versions.
To configure the MCP server:
- Navigate to: File > Preferences > Cursor Settings, or use the shortcut key
Ctrl+Shift+J - Select “MCP” tab on the left panel
- Click “Add new global MCP server” button in the top right
- Add your configuration in the opened mcp.json file
{
  "mcpServers": {
    "piapi": {
      "command": "node",
      "args": [
        "/absolute/path/to/piapi-mcp-server/dist/index.js"
      ],
      "env": {
        "PIAPI_API_KEY": "your_api_key_here"
      }
    }
  }
}- After configuration, you’ll see a “piapi” entry in MCP Servers page
- Click the Refresh button on the entry or restart Cursor to connect to the piapi server
To test the piapi image generation:
- Open and select “Agent mode” in Cursor Chat, or use the shortcut key
Ctrl+I - Enter a test prompt, for example: “generate image of a dog”
- The image will be generated based on your prompt using piapi server
To disable the piapi server:
- Navigate to the MCP Servers page in Cursor Settings
- Find the “piapi” entry in the server list
- Click the “Enabled” toggle button to switch it to “Disabled”
Development
Project Structure
piapi-mcp-server/
├── assets/
├── src/
│   ├── index.ts        # Main server entry point
├── package.json
├── tsconfig.json
└── .env.example
License
MIT
Dev Tools Supporting MCP
The following are the main code editors that support the Model Context Protocol. Click the link to visit the official website for more information.


